We've been using a set of rules I bashed together for use with the collectible Star Wars figure range. I have a collectible figure problem, and, having 1,000+ of the things, I wanted a set of rules I could use that would give the feel of the SW universe as shown in the movies and Clone Wars TV series, yet play really fast and allow a lot of figures on the table at once. The rules for the collectible figure game do not fit this requirement, hence the need to write my own. To date, we have had games as small as a half dozen Jedi battling against Darth Tyrannus, his apprentice and a couple dozen droids in the halls of a starship, to a massive clone trooper vs. droid fest with over 300 figures on the board.
The premise behind this scenario is as follows: Rebel commandos have taken a high ranking imperial officer prisoner in the hopes of interrogating him for codes, plans and other information on the Empire's operations. Unfortunately, their transport malfunctions and they are forced to crash land on a world in the Outer Rim, but not so far from an imperial world that the Empire is not able to scramble a company of storm troopers and support in an attempt to stop them escaping. The Rebellion is sending transport to pick up the commandos and their prisoner, but will not be there for a full solar cycle. The imperial forces will be upon the commandos before then. The commandos have a small window to prepare for the imperial assault.
The Empire outnumbers the rebels by almost 3:1. The commandos are elite troops, but even that will not save them. They have taken refuge in an old and long-abandoned Old Republic base. Inside the storage building are several old droids, all in disrepair. There are three techs with the rebels who can repair them, but two of them are still knocked out from the crash landing.
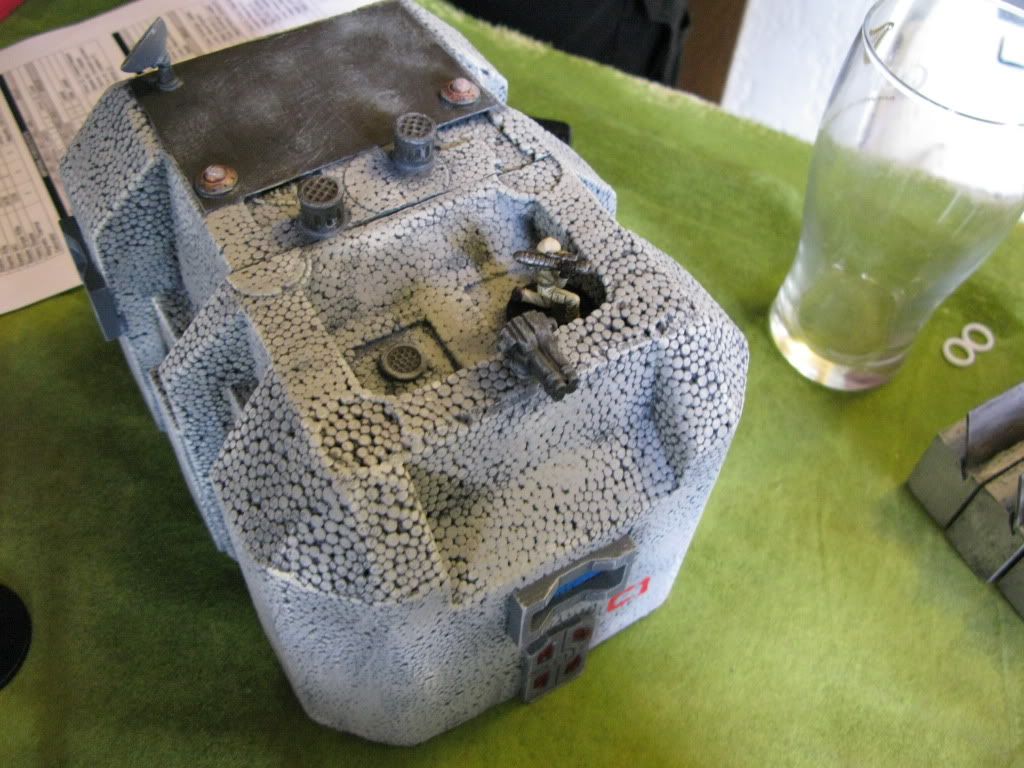
In game terms, the Rebels were given six "pre-game" turns to try and repair the bots. Each tech could repair a bot on a 5+ on 1d6. Two techs working together would repair a bot on a 3+, and all three working on a bot would automatically repair it. At the end of each pre-game turn the rebel players would roll to see if the other techs recovered from the crash. After some typical CGC dice rolls, by the end of the 6th pre-game turn all three techs were okay, but they had only restored 3 of the 5 bots: The cargo droid, and two of the three old-model battle droids. They also managed to get the bases two defensive systems back on line in time - a Blaster MG mounted on the roof of the command building, and a Heavy Blaster Cannon in a turret mount outside the base proper.
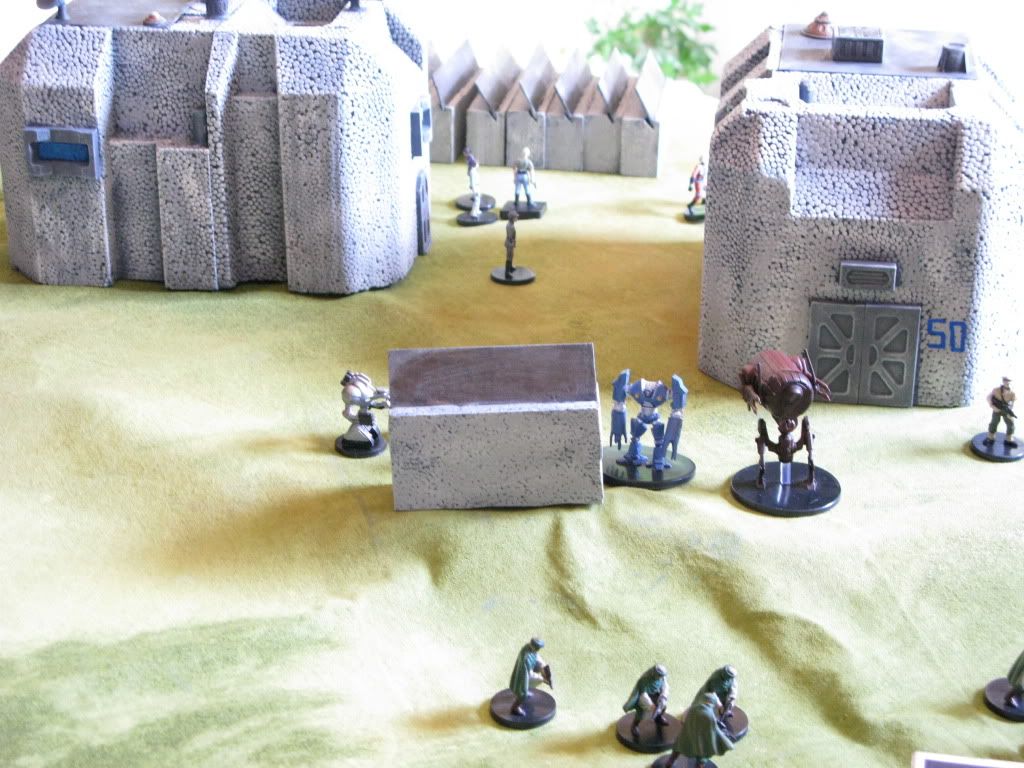 The rebel base before the rebels had a chance to deploy some of the pre-fab defense walls.
One of the first bots to be repaired was the cargo droid. This droid could be used to move some of the pre-fab defensive walls stored at the abandoned base. The droid could place one wall section a turn, anywhere on the side of the stream housing the base. The droid could also move the walls during the battle. I was hoping for some clever use of this, the CGC being full of devious thinkers, but it failed to materialize, leading me to believe that everyone was probably sick or something. :)
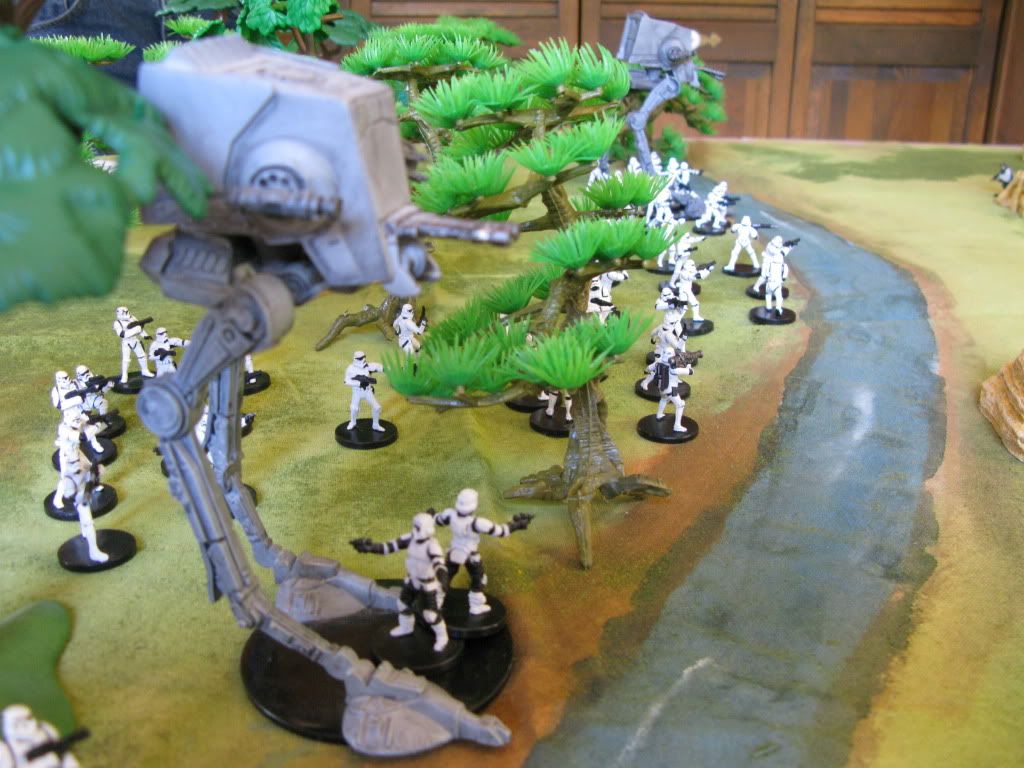 The imperial forces deploy in the woods opposite the rebel held base.
At the end of the 6th pre-game turn, the rebels deployed their forces, followed by the Empire players. The imperials had to deploy on the far side of the shallow stream (which would not impede movement). They had five squads of 10 storm troopers (each with a support weapon and NCO), plus two walkers, each with two crew. Two imperial officers led the force: One in nominal charge, and the second, an internal security officer, who was there to make sure the hostage was either rescued or terminated. (The Empire suspected the hostage of being a double agent.)
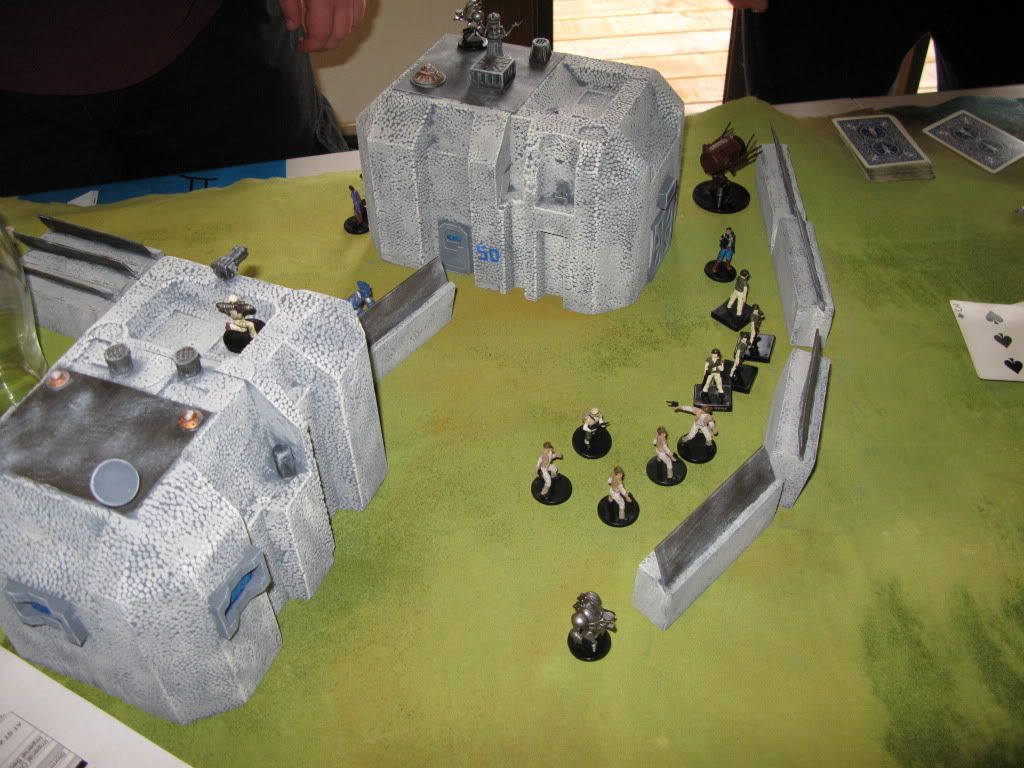
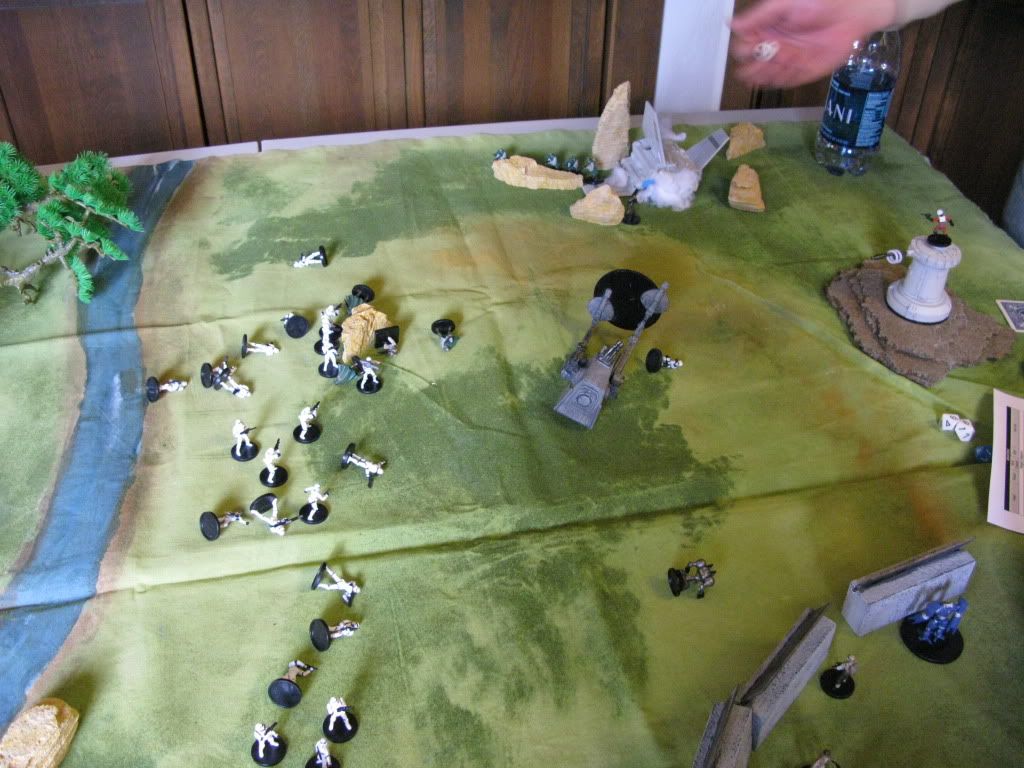
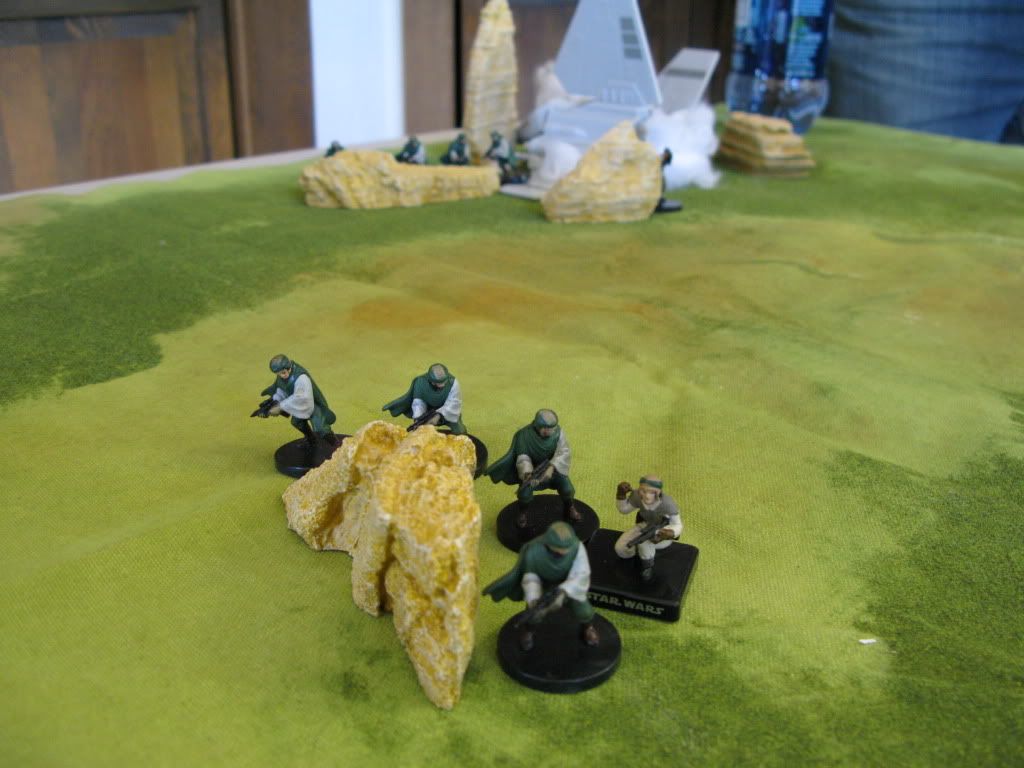 Rebels deployed in an extreme forward position...
The bulk of the rebel commandos deployed within the base confines, but two fire teams were positioned quite some distance away. Both were deployed in cover, but the closer of the two in the photo above were very close to the imperial deployment zone. Like, 5" away...
 The battle begins!
The storm troopers started things off with a very aggressive advance on their left flank. The forward-most commando post found itself in a forlorn hope position, and were all but overrun right off the bat! Fortunately for them, the secondary position was able to provide them with some supporting fire (including that of the commando sniper who capped some heavy weapon troopers). The walker supporting this attack took a hit from the turreted blaster cannon, which left it heavily damaged and vulnerable.
 The storm troopers race forward!
The imperial players took a very aggressive stance. This is odd considering Jochen was on the Empire's side... ;)
 Rebels holed up in the relative safety of the base.
 View from the Empire's right flank.
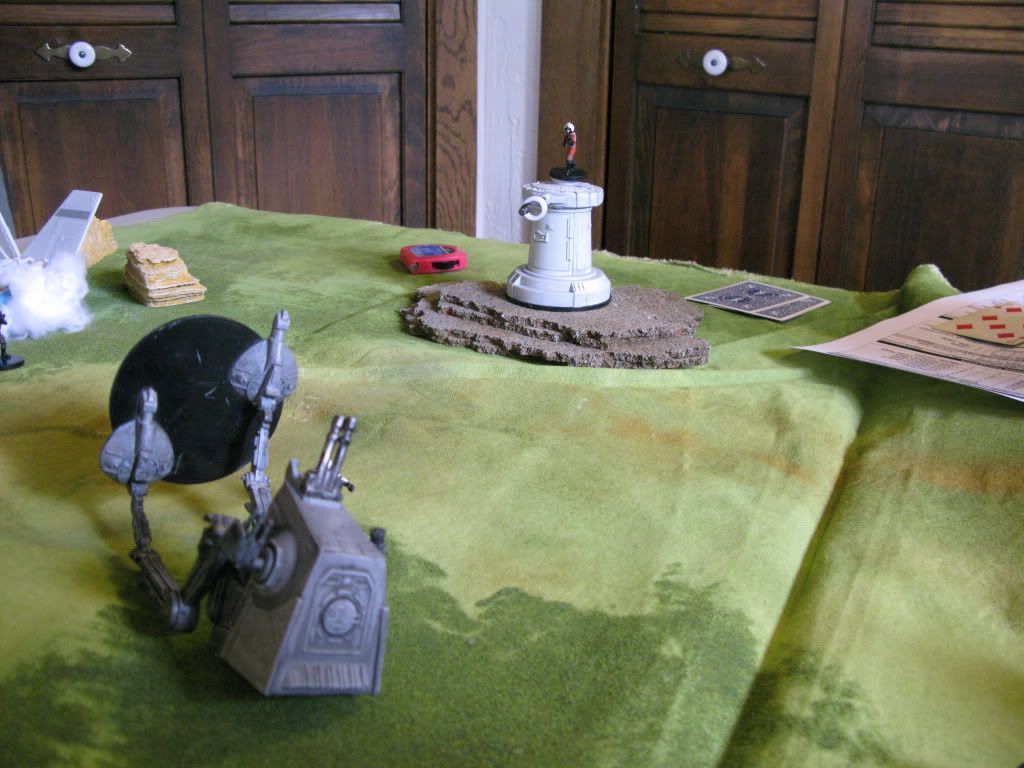 Ski-doosh! The blaster cannon turret takes down the first walker.
In spite of being handicapped by having to roll dice, the rebels managed to score a second hit on the imperial's walker on the left flank, finishing it off. One of the drivers survived the wreck, but was gunned down shorty after by one of the commandos. "We always follow up on our kills!" is their motto! :)
 Faster droid, faster!
The rebels did use the cargo droid to get an additional wall section into position. I think it ended up doing them more harm than good though, as it blocked LOS for the blaster cannon into the base to a large extent.
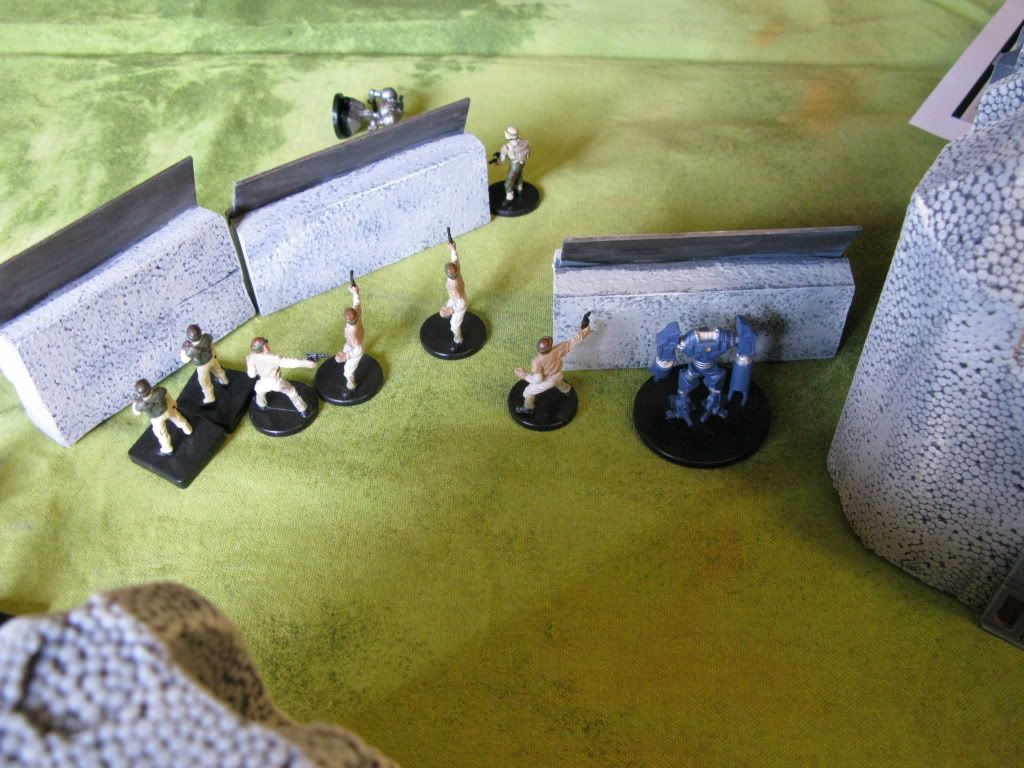
 Storm troopers storm the base!
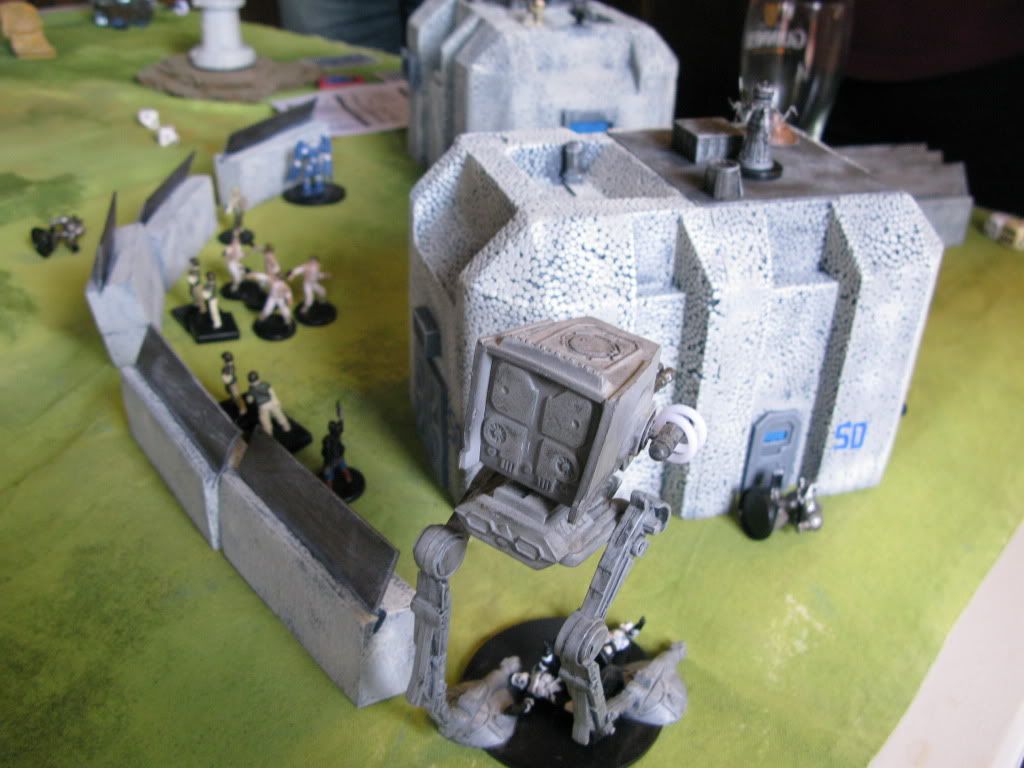 Empire walker prepares to run amok on the rebels!
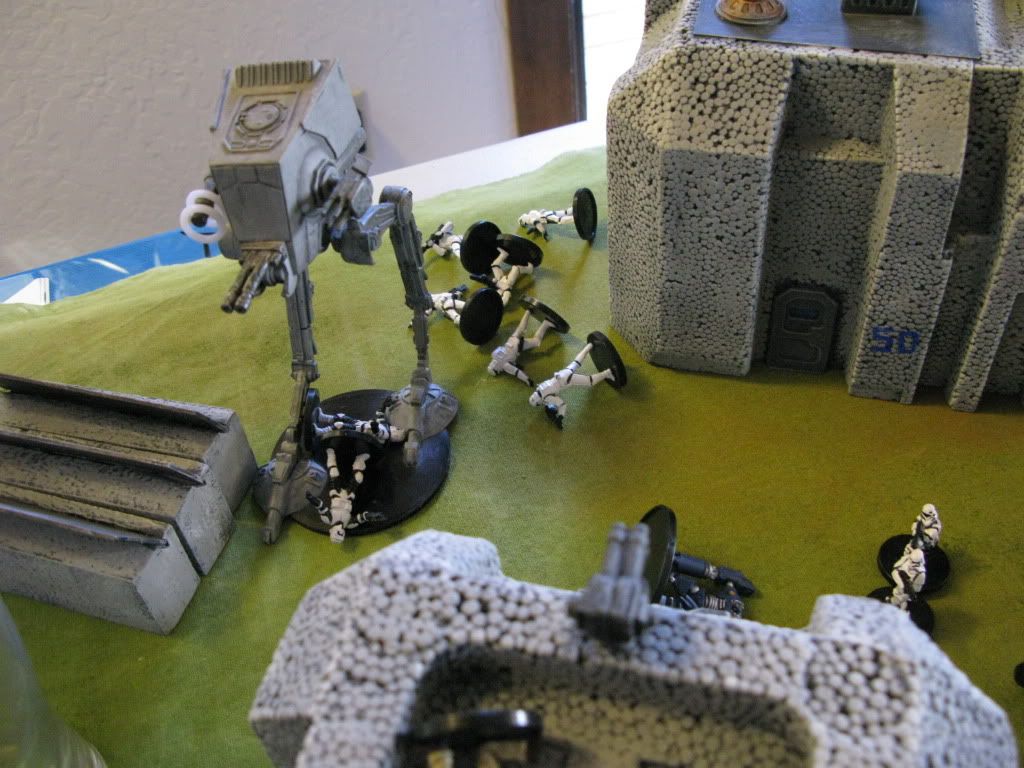
Jochen maneuvered his walker right up into the rebel's base, taking out a battle droid that had just been repaired by the techs just as it emerged from the building. This walker turned out to be a huge thorn in the rebel's side for the rest of the battle.
Note that the figures on the tops of the buildings are, for the most part, just there to show what's inside that building. The only figure actually on top was the rebel heavy blaster man on top of the command bunker, aka "Michael Missman".
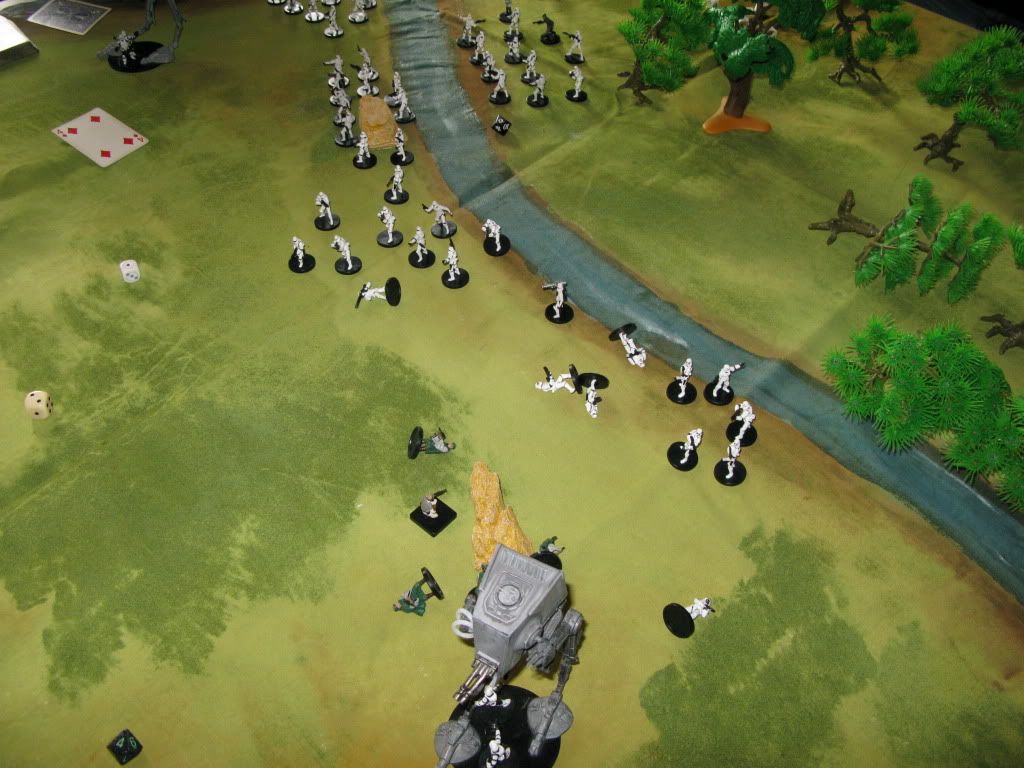
 The storm trooper left flank is stopped!
Although they stopped the storm troopers on their right, the surviving commandos were a looooooong way away from the base; perhaps too far to help defend it.
 Things heat up inside the base for the rebels!
Never bring a blaster pistol to a blaster rifle fight...
 Strike three - you're out!
This rebel heavy weapons trooper took a total of 3 (maybe 4) heavy blaster shots at the walker stampeding through the base. The first two missed, and the third hit but deflected. The walker crew wisely gunned him down before he could try again.
 Hey guyz, letz see what happens when we sneak around here, m'kay?
Failing to remember the blaster MG on top of the command building, Jochen ran his few surviving storm troopers around the corner of the supply building, only to see them all gunned down. Ouch!
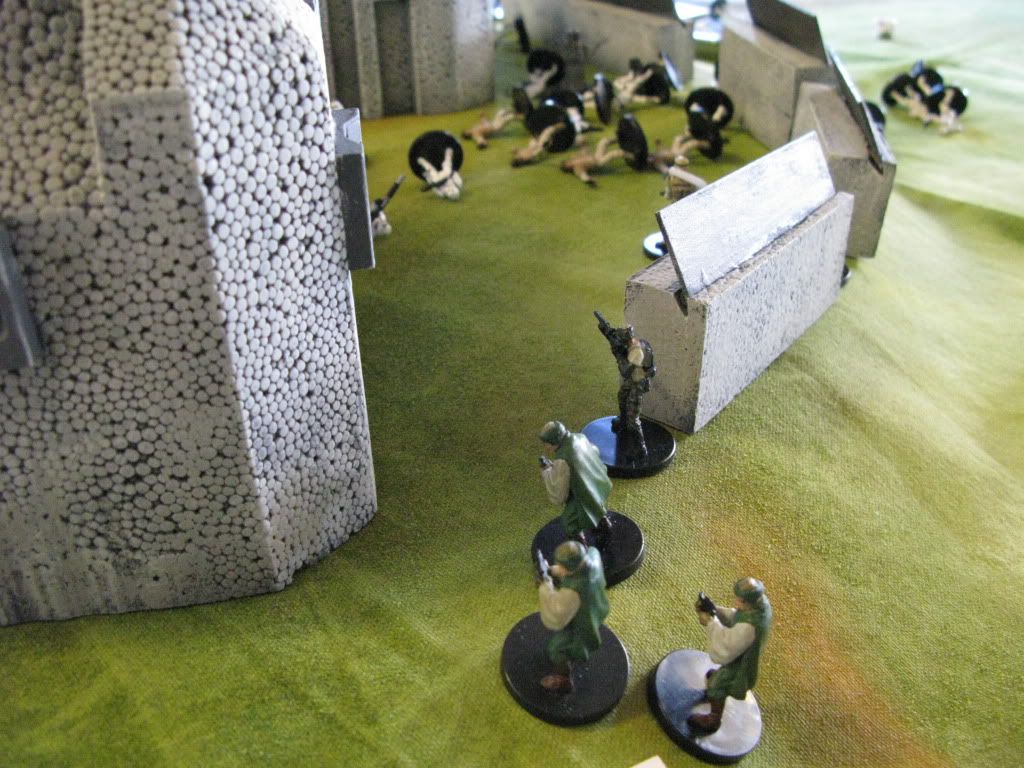 In the nick of time?!?
The last of the commandos got to the base in time to see the last of their comrades fall to imperial blaster fire. Then they heard the sound of the walker blowing the doors off the command bunker. Knowing they had nothing that would take down the walker, they did an end run around the building in the hopes of making a last stand.
Unfortunately, the imperial officers got their first. They gunned down the pilots who had stayed in the building to man the remote guns, and started shooting at the techs! Meanwhile, the walker raced around the building at full speed to stop the commandos from coming to the rescue...
 Don't roll a 1... er, I mean don't roll an 8!
Walkers are not particularly good at large direction changes at full speed. The pilot made his first roll, but blew the second, causing the walker to tip over, destroying it and killing both pilots! This gave the last rebel commandos an open path to the command bunker, where they gunned down the two imperial officers (in the back even!), saving the day for the Rebellion!
Normally I wouldn't play a battle down to the last man standing, as in most situations that is a ridiculous outcome. In this battle, however, it was perfect! In the end the rebels had only 3 commandos and a single tech (plus the hostage) left. Everyone agreed you couldn't ask for a more balanced game.
I'm revamping the rules to make them more usable across multiple sci-fi and near-future genres. Ultimately, the rules specific to the Star Wars universe will become a free fan-supplement to avoid copyright issues if possible. If not, they'll remain unpublished for club use.
Finally, many tanks to my good buddy Jochen for taking the snaps!
Cheers!
- Rod
No comments:
Post a Comment